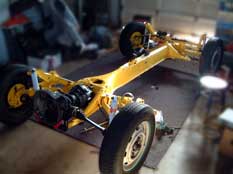
This is the finished rolling chassis. I completely disassembled it and had it powder coated. Then I assembled it using new rubber
(neoprene) bushings etc. In some cases where the original was too worn or damaged I replaced the part (i.e. steering rod and box.)
Note that we built most of the wombat in this one-car unheated garage. |
 |
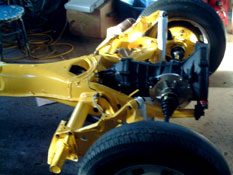
This a better view of the transaxle and rear end. We used adjustable back shocks and later, when we added the 100-pound heavier
Subaru engine, we had to box out the rear trailing arms so they would be strong enough to handle the added weight.
This is also the first transaxle. When we decided to go with bigger tires and a Subaru 2.2 boxer engine we had another transaxle rebuilt to handle
the new larger tires and added horsepower. (With the high end gear ratio that occurred when we went to the larger wheels our
theoretical top speed was 145 MPH!). |
 |
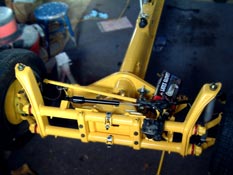
| We went with front disc brakes and braided brake lines as well as a new master brake cylinder and new steering box. |
 |
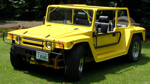
| My son Paul sitting on the rolling chassis the day we attached the body to it. We didn't put on the chrome wheels or tires
until we were ready to test-drive. |
 |
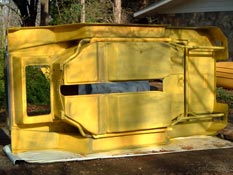
| Before we attached the body to the chassis we spray painted the underside so it would match the chassis and the body color.
You need 4 strong men or, in our case, a forklift to move the body around. |
 |
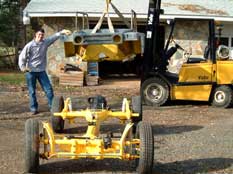
| We have just attached the body to the chassis using the hardware and epoxy provided. As you can see the car isn't that heavy. |
 |
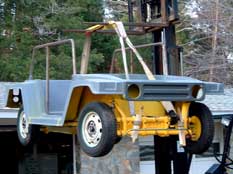
| This was probably the simplest part of the assembly process. We literally lowered the body on the chassis
and had it attached and epoxied in under an hour. |
 |
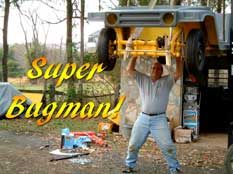
| While we had a forklift available we lifted the car so we could use silicone caulk to fill any voids or holes caused from rust.
We didn't want any water to come in if we went through any high water. |
 |
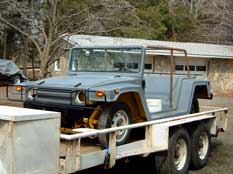
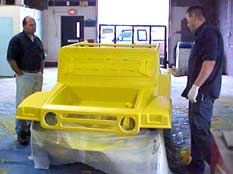
| The wombat is loaded on the trailer and ready for its trip to the paint shop. However, in this case we didn't use just any coating to protect
the fiberglass body. . . . |
 |
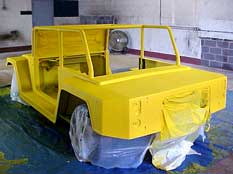
| . . . .we decided to use Vortex, a spray bedliner that comes in some pretty wild colors. There were some additional
challenges that came from using this product, mainly due to the thickness. It can be sprayed from 1/8 to 18 inches thick. On our Wombat
thickness ranged from 1/8 to 1/4 inch thick. All the doors and hood had to be sanded down to accept the hinges. |
 |
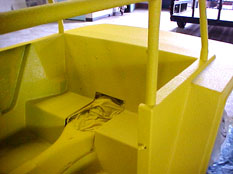
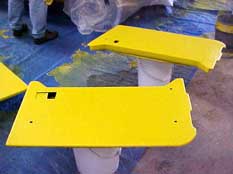
| As you can see we sprayed every part of the body. This stuff is sooo tough you can't scratch it with a screwdriver! |
 |
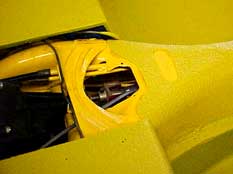
| We did have to make some modifications to the front compartment to accept the radiator and air conditioner condenser. |
 |
| Here I am at work as usual while Mike does the real work. Note we cut out the grille to allow for more airflow for the radiator. |
 |
| Attaching the doors and hood was a bigger challenge than we had expected, but it was worth it because we have a real car with working doors. |
 |
| We made sure we didn't cover the VIN number. We now have a registered "Antique" 74 VW with a modified body and antique plates. |
 |
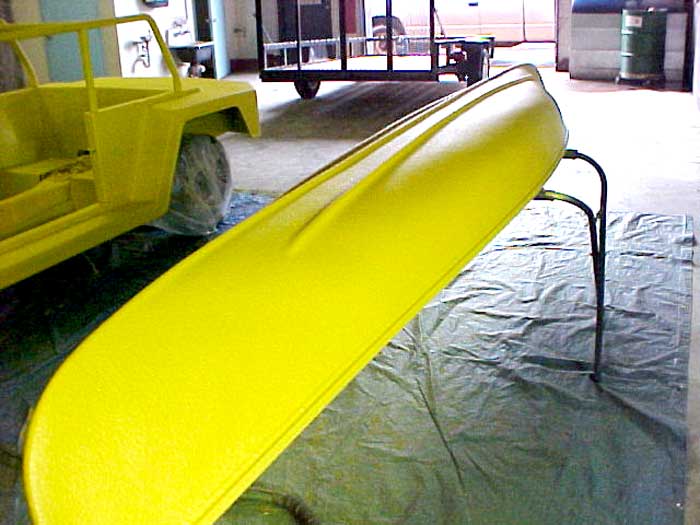
| We had some Vortex left over so we coated our canoe as well! |
 |
| This is our rendition of a spaghetti factory explosion! We took our engine donor car apart and traced
the wires from the engine to the computer and back. |
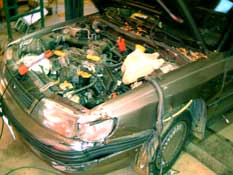 |
| As you can see it got to be quite involved and had we not had the services of our resident expert
mechanic (Glenn) we would have given up. |
 |
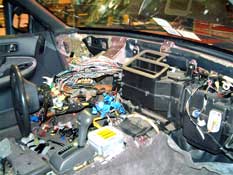
| Once we isolated the wires Glenn removed them and the onboard computer and we now have a working
diagnostic computer in our Wombat! |
 |
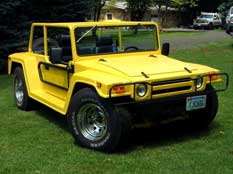
| Almost finished! (We would later put in a dead man switch and A/C unit and a working convertible top.) |
 |
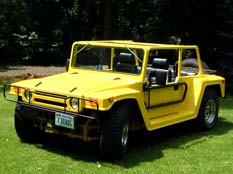
Note the license plates which are now antique plates. I went to an antique automobile show
about this time and we drew a bigger crowd than the cars in the show.)
The Vortex finish has a clear acrylic coating that makes it look like we just came through an ice storm.
Everyone has to touch it to see what the finish feels like. |
 |
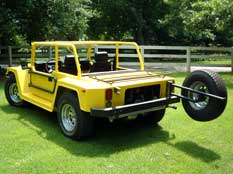
As you can see we built the muffler system ourselves. It consists of handmade headers and
dual mufflers that connect to each other right below the rear bumper.
When we were raising the transaxle (we had to raise it 9" for adequate ground clearance) we had to
build new motor and transaxle mounts and isolate the transaxle from the frame with rubber so we
wouldn't have excessive vibration. While we were at it we installed a heavy-duty receiver hitch
in case we wanted to haul a jet ski or put in a platform for more luggage. |
 |
| I powder coated some of the pulleys instead of chroming them for added durability.
You can barely see the heater hose (right top) that is connected to copper tubing that runs to the front
and back along the running board. When you go from an air-cooled to a water-cooled engine you encounter all sorts of challenges. |
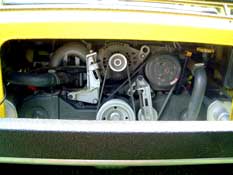 |
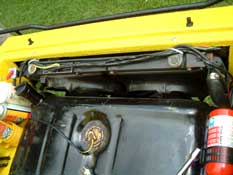
| This is a new gas tank that barely fits in with the radiator, electric fans and A/C condenser unit.
By the way we get around 30 MPG. |
 |
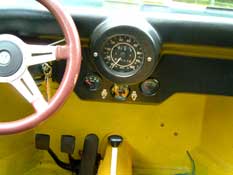
| This is the original steering wheel and speedometer from the Wolfsburg Edition 74 standard bug donor car.
Note the two toggle switches that are for the on board diagnostic system. The gauges are water temp.,
oil pressure and electric. We have since installed all the vents and duct work for the A/C, heat and defrost system. |
 |
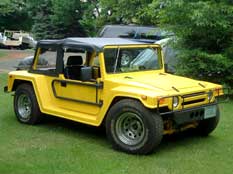
| With the top and side curtains (not shown) the Wombat is fairly tight. In the middle of the winter
it gets real toasty. We rarely use the A/C because we drive with the top down. |
 |
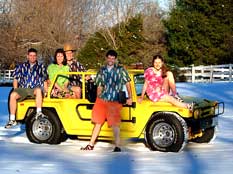
| This was our Christmas Card one year. Our Wombat drives very well in the snow! As it turns out, if
you let some air out of the tires, it drives exceptionally well on sand also! |
 |