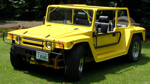
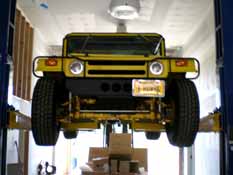
| On lift, front view. I wish I had this lift when we were building the wombat! |
 |
| Here is a front close up from underneath. |
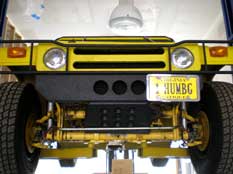 |
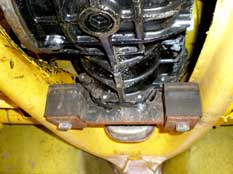
| Here is the front driver's side suspension. I used a good shock package but didn't go over board. |
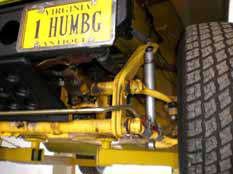 |
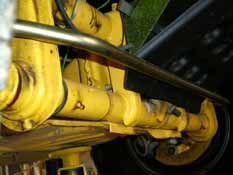
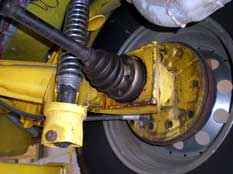
| This is the passenger side front suspension with the over sized front anti-sway bar. The standard sway bar allowed too much wheel hop when I powered around corners.
|
 |
| When I used this set up instead of wheel hop I get a controlled slide if my tire breaks lose from the road surface.
|
 |
| This is looking above the front torsion bar where I placed the A/C condensing unit in front of the radiator. I also went with electric fans that automatically turn on when the temp hits 200 F.
|
 |
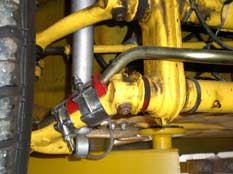
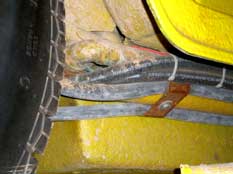
| This is right behind the front driver's side tire. The top pipe is a 1" copper tube we used to recirculate the water from the radiator to the motor and back.
|
 |
| The lower pipe is where you would normally run hot air from your VW engine into the passenger compartment from your heater boxes. Since we didn't need them we ran wire from our engine to the fuse block.
|
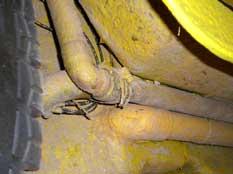 |
| This is right in front of the rear driver's side tire where the torsion bar is located. You can see the copper tube for the water recirculation and where the wiring comes out from the former heater pipe to go to the engine.
|
 |
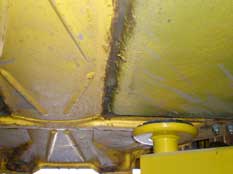
| This is the front underside of the body just under the tunnel. You can see we caulked this entire seam in case we went through high water.
|
 |
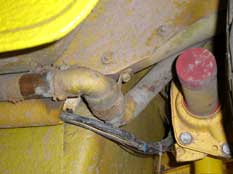
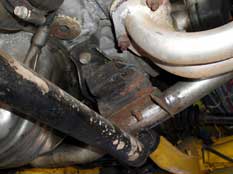
| This is the transmission mount from the side. This was critical in achieving a smooth ride.
|
 |
| You can see how we placed the rubber to separate the actual transmission and the frame.
|
 |
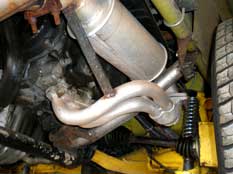
| This is a rear view of the header and muffler system we built. When I was in high school I helped my best friend build a dune buggy with a corvair engine. I went back to the company that made the corvair conversion kit and sure enough they had a Subaru to VW conversion kit. (It was Kennedy Engineering) Some of the downsides to this conversion were that we had to raise the transmission and motor 9". This caused us some real challenges in fabricating rear motor and transmission mounts. There was plenty of room in the engine compartment for the Subaru motor and all the added mounts and hardware. The advantages are a very quick sporty car with basically a throw away engine. Once you get the package put together you can buy a 2.2 Subaru motor for around $300.
|
 |
| A closer view of the rear motor mount we fabricated.
|
 |
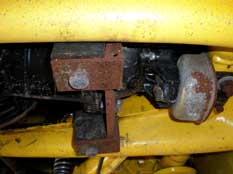
| The receiver hitch and mounting points.
|
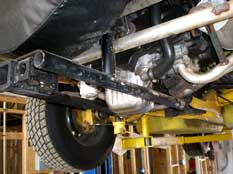 |
| When we added the Subaru 2.2 boxer engine we had to box out the rear trailing arms on both sides for added strength.
|
 |
| We brought all of the A/C hoses along the passenger running board.
|
 |
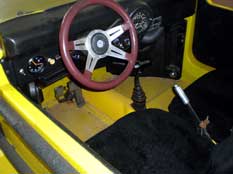
| Front instrument cluster.
|
 |
| There is plenty of room in the rear for my two tall (6'1" & 6'3") sons.
|
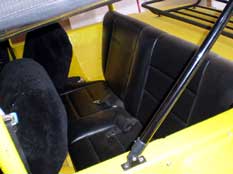 |
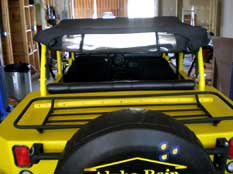
| View from the rear. This is how I normally have the top and side curtains. If it starts to rain I can roll down the curtains and install the side curtains in about 5 minutes.
|
 |
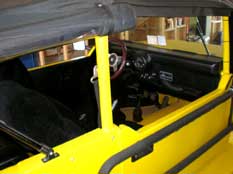
| View from the passenger side where the A/C controls are.
|
 |
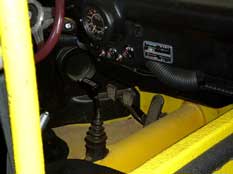
| Close up of the A/C controls.
|
 |
| When I am not using the side curtains I wrap them in plastic and there is enough room in the front to store them.
|
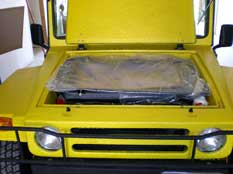 |
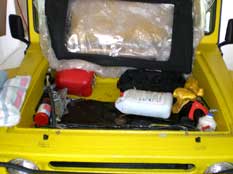
| The other stuff stored in the front trunk.
|
 |